Let your speech [be] alway with grace, seasoned with salt, that ye may know how ye ought to answer every man.
Colossians 4:6
Nicaragua
Hola, Hello, today we are going to take a peak at Nicaragua and then I have a lengthy project that I want to show you how to do. >The capital of Nicaragua is Managua.
>The official language is Spanish.
>The money in Nicaragua is called the Córdoba.
> Nicaragua is the largest country in Central America.
>Most of the people are poor farmers.
>Agriculture is the leading source of income in Nicaragua.
When I was young our family lived in Nicaragua for about two and a half years. While there I learned quite a bit of Spanish but sadly I lost it over the years and don’t know very much anymore. We served under Christian Aid Ministries(CAM) a mission which I’ve mentioned before in another post. CAM has missionaries in many countries and if you click the link above it will tell you about the work they do in Nicaragua, providing people with both physical food and spiritual food. There is lots of unrest and people face many difficulties. Maybe they don’t know where they’ll get their next food, or if they’re in danger of being robbed, or where they’ll go off the die. Let’s keep the people in Nicaragua in our prayers and remember to thank the Lord for the many blessings He has given us. 🧵🧵🧵🧵🧵🧵🧵🧵🧵🧵🧵🧵🧵🧵🧵
Today we are going to make a cosmetic bag.
Scissors
Ruler
pen
4 zippers
5 colors of fabric
ribbon, buttons, or other accessories
Wire hanger and
pliers (not pictured)
First I cut a piece of white (not pictured) 11 1/2" x 23"
Next I cut my piece for the outside 12 1/2" x 24"
The pockets:
Here's a sort of idea as to how the pockets are going to be on here and what their names are from top to bottom, left to right:
1. big pocket
2. toothbrush pocket
3. big small pocket
4. tall pocket
5. small pocket
6. 3D pocket
I
like to do the 3D pocket first but you can do them in any order first
I cut a piece 6” x 15” and then two pieces that are 11 ½”
inches long and 3 5/8” thick in the middle with rounded corners.


Sew
one rounded piece to the zipper and then sew the long strip on the
other side of the zipper directly across from the first piece last of
all sew the other curved piece to the bottom of the long piece. You
should now have the 3D pocket. I wait until the end to sew it on the
white.
Next
I cut out the other pockets:
Toothbrush
pocket 3” x 11 ½”
Big small pocket 4” x 6 ½”
Small pocket 3 ½” x 6 ½”
Big
pocket 5” x 11 ½”
Tall
pocket 7 3/8” x 5”
Sew
a zipper to the top of the "big pocket".

Sew one zipper to the top of "small pocket". I hadn't cut this pocket wide enough so I am putting a piece of ribbon with it to make it wider.

Line up the two small pockets beside the "tall pocket" and sew them together. I didn't sew the bottom of the "big small" pocket to the zipper yet.

Then sew the "tall pocket and "big small pocket" to
the last zipper. Always iron your hems before you sew them for a nicer seam.

Now sew the toothbrush pocket
and the big pocket together.

And finally sew the "toothbrush pocket" to the other side of the zipper from the "tall pocket" and "big small pocket".

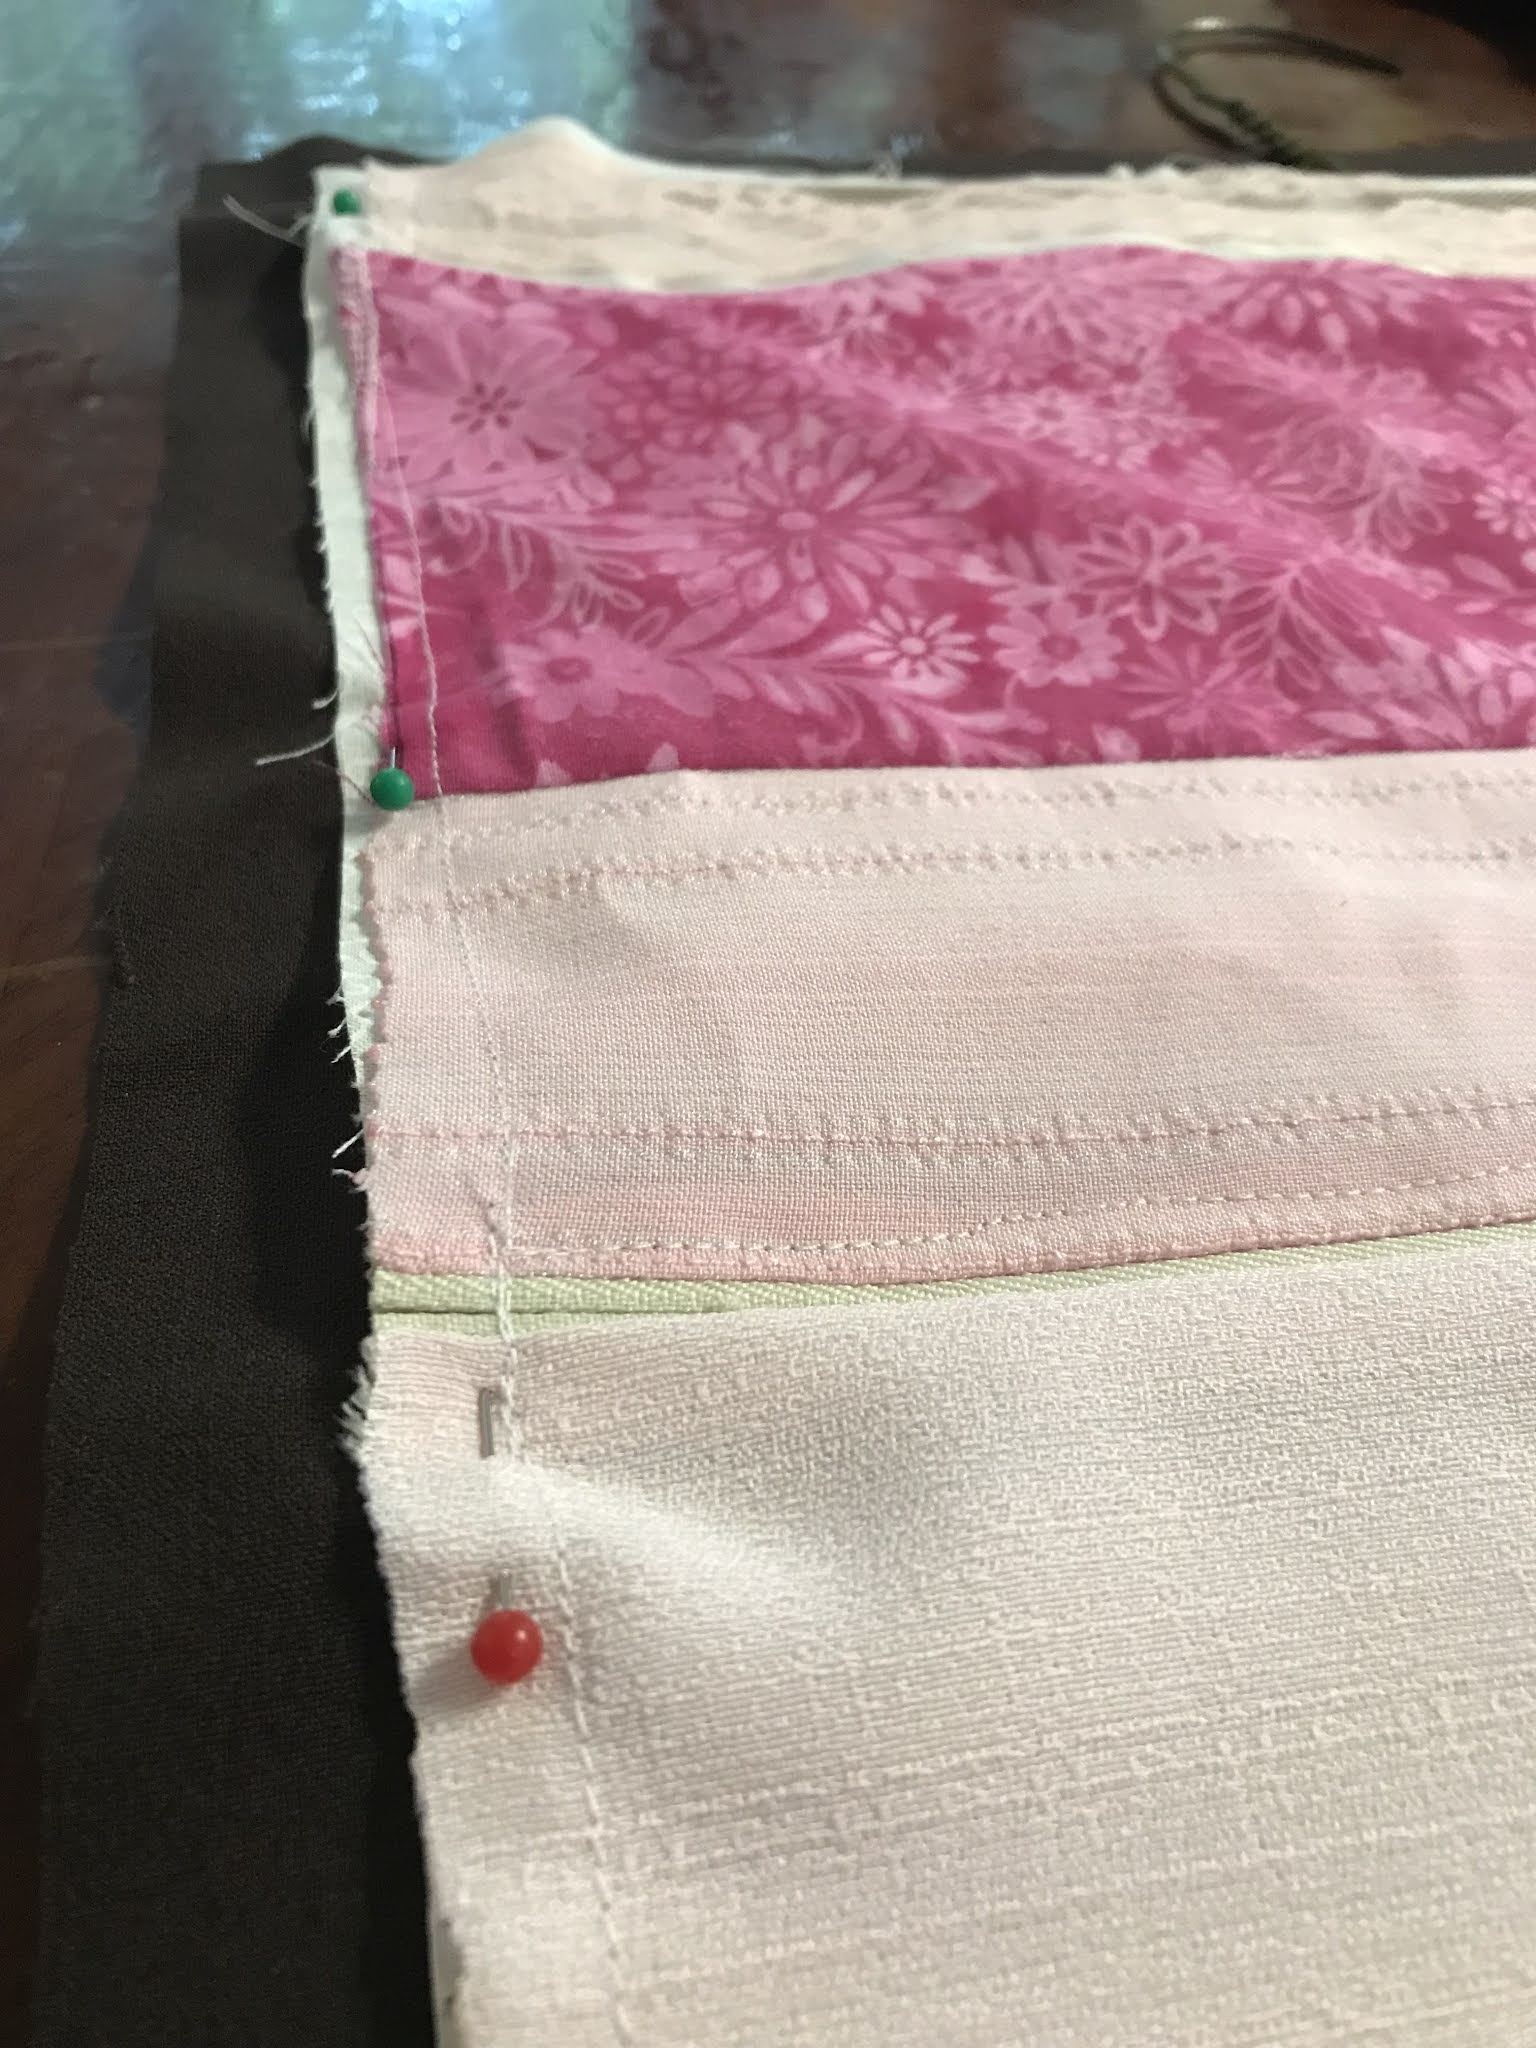
Now that you have all these pockets sewn together you can pin them onto the white background.
Pin the pockets a little over 7 inches from the bottom of the white leaving about 2 inches of white above the top zipper.
Now you can go along and sew several different places down.
Along the top of the top zipper.
between the "big pocket" and the "toothbrush pocket".
Halfways across at the bottom of the "toothbrush pocket".
Down between the "tall pocket" and the "small pockets".
Read these directions and then look at the pictures. :) I
am not sure of the easiest way to sew the 3D pocket on.Unzip the
zipper. Pin the one side of the pocket about ½ to ¾” away from the edge of the
white and sew down. Then pin the bottom about the same distance away
and sew along that side. Next sew the last side, be very careful
because it is easy to sew crooked. Last line the lid of your pocket
up so that it is even with the tops of both ends, pin it, and then
sew across.
When the pocket is sewed on it should look like this closed.
The hanger part:
Cut
the wire hanger so that the straight part is 9” long with the hook
in the middle. Cut a piece of fabric(or lace) 2” x 11 ½” and cut a dip in
the middle 2 ½” wide for your hanger to turn down in and then hem
it.You can also skip the dip and just leave enough of the lace sewed down that the hanger can easily flip up or down.
You can see in this picture where I sewed around the piece of lace to hold it in place. The black and yellow pins mark where I stopped sewing in the center.
Now I sewed the side of the brown pocket and the bottom of the biggest small pocket down.
Next
you will want to make the handle and sew it on to the back before you
sew the two big pieces together. Cut the main handle 12” x 2 ½”
and the part to wrap around about 4 ¼ x 1 ¼”. Hem both ends of
the small piece and iron about half inch down. Then fold the main
handle in half(wrong side out) and sew about ¼” away from the
edge, flip it and then iron it flat.wrap the small part around the
handle and then sew down the middle. Or you can do like I did in the pictures below and just use a piece of lace.
Choose whether you will use snaps, Velcro, loop-and-button,etc and plan
accordingly. If you need to sew something in with the handle (like my pieces of ribbon) get it
ready and pin it in. Then pin the handle on to the back and sew it
on.
Flip
the back over and pin the front on. Be careful to center it.
You can sew the
two pieces together and then iron the edge of the back in even with
the outside edge of the inside. Or just hem the back to the front without seeing the two pieces together first.
Now add your snaps, buttons, or velcro where you want to. You can also add your
monogram or name if you or whatever kind of accessories you'd like.
Back view and front view.
Happy traveling!
(P.s. join me next time as I start on a new venture [it has to do with learning Spanish;)])
Adios amigos. Goodbye.
Sources: World book encyclopedia, 1985
Christian Aid Ministries
internationalliving.com


Comments